
CapCut Tutorial for Better Video Editing Results
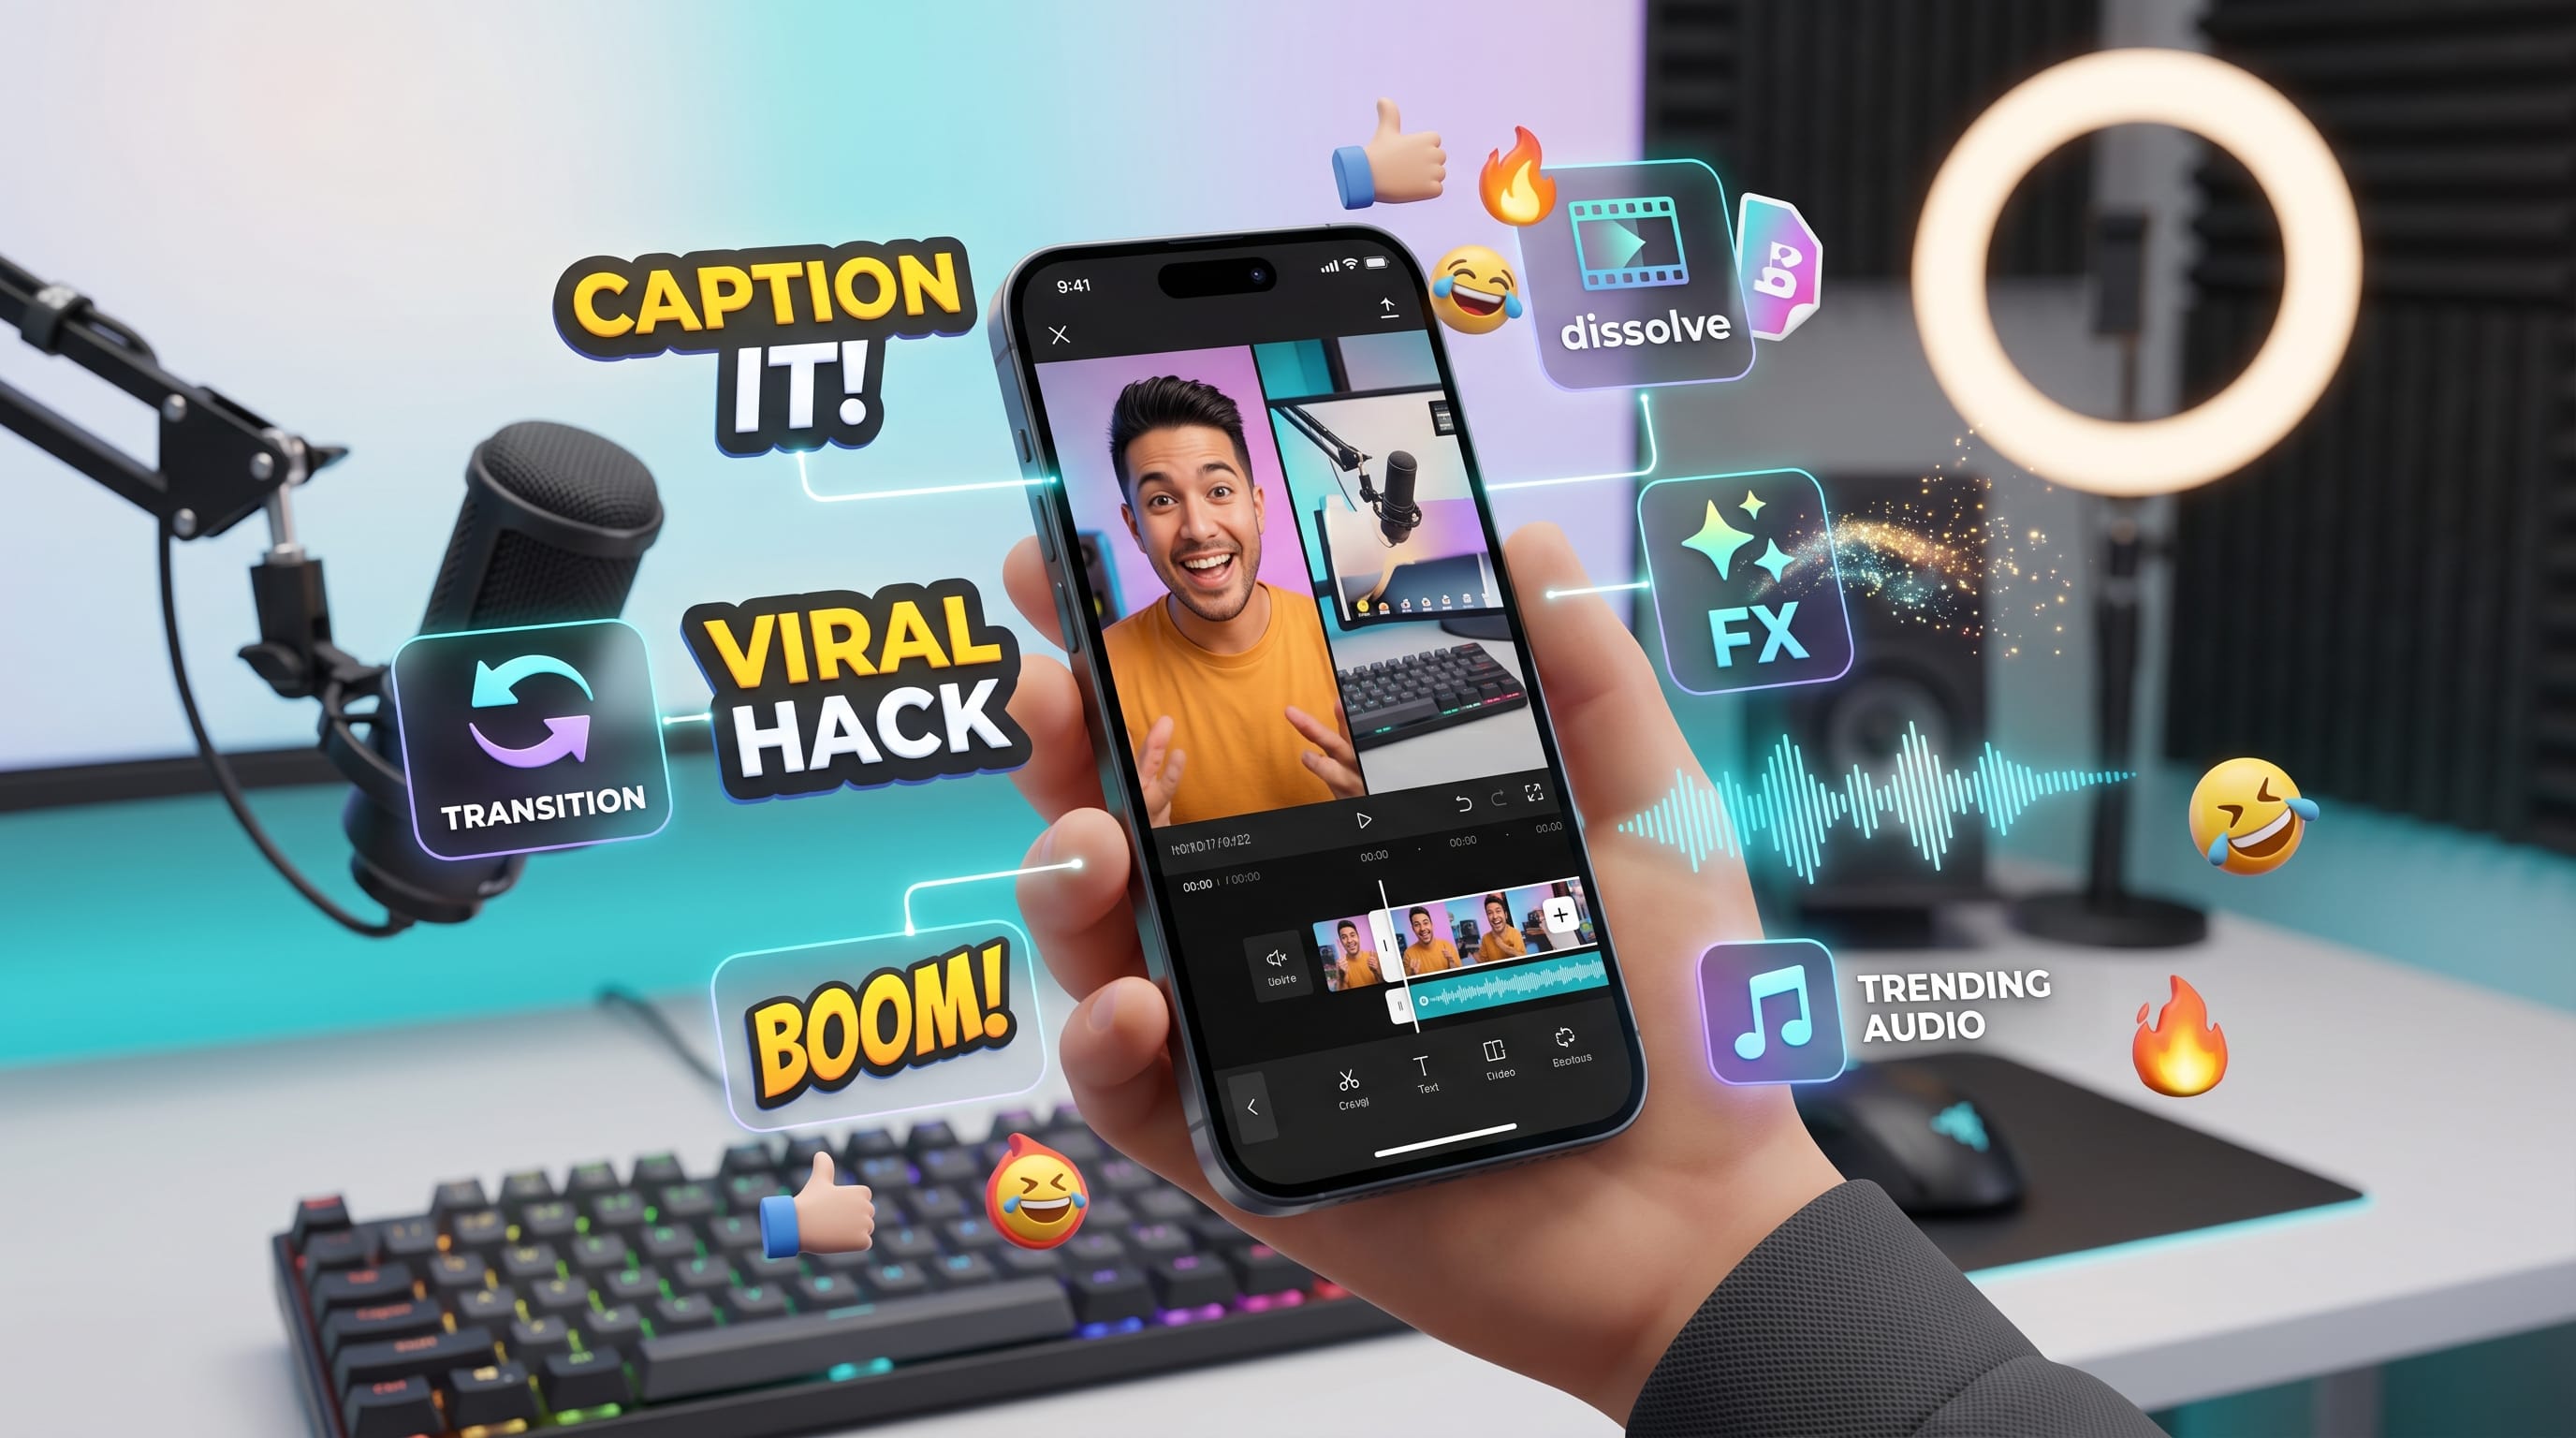
A good CapCut tutorial can help creators transform simple video clips into professional-looking content. Whether you create videos for YouTube, TikTok, Instagram Reels, Facebook, or personal projects, learning effective editing techniques can significantly improve content quality and audience engagement.
CapCut has become one of the most popular video editing applications because it combines powerful editing features with a user-friendly interface. Beginners can quickly learn basic tools, while experienced creators can explore advanced effects, transitions, animations, and AI-powered features.
This CapCut tutorial will guide you through essential editing techniques, practical examples, workflow tips, and creative strategies that help produce better video editing results.
Why Use CapCut for Video Editing?
CapCut continues growing in popularity among creators.
Benefits include:
- Free editing tools
- Mobile and desktop support
- AI-powered features
- Professional transitions
- Advanced text animations
- Easy social media exports
Many creators use CapCut because it balances simplicity and functionality.
Getting Started with This CapCut Tutorial
Before editing, it helps to understand the workspace.
Understanding the CapCut Interface
The editing interface includes:
- Media library
- Timeline
- Preview window
- Audio controls
- Effects panel
- Export settings
Learning these sections makes editing faster.
Creating a New Project
To begin:
- Open CapCut.
- Create a new project.
- Import video clips.
- Arrange footage on the timeline.
- Save the project.
A well-organized project improves efficiency.
CapCut Tutorial for Basic Video Editing
Every creator should master the basics.
Trimming and Splitting Clips
Trimming helps remove unwanted footage.
Use trimming to:
- Remove mistakes
- Improve pacing
- Create shorter videos
Clean edits improve viewer retention.
Rearranging Timeline Content
Organize clips based on:
- Story flow
- Chronological order
- Content priorities
A strong sequence improves storytelling.
CapCut Tutorial for Better Transitions
Transitions help create smoother viewing experiences.
Popular Transition Effects
Examples include:
- Fade
- Slide
- Zoom
- Blur
- Camera movement
Transitions should support the story rather than distract viewers.
When to Use Transitions
Use transitions:
- Between scenes
- During time jumps
- To improve pacing
Avoid excessive effects.
CapCut Tutorial for Text and Titles
Text overlays help communicate information.
Adding Professional Titles
Good titles should be:
- Readable
- Consistent
- Brand aligned
Titles often become a key visual element.
Text Animation Tips
Popular animation styles include:
- Fade in
- Typewriter effects
- Zoom animations
- Slide movements
Animated text increases viewer attention.
Also Read: How to Use Photoshop Color Grading for Stunning Photos
CapCut Tutorial for Audio Editing
Audio quality often determines content success.
Adding Background Music
Choose music that supports:
- Mood
- Energy
- Storytelling
Music should complement the visuals.
Voiceover Editing
CapCut supports:
- Voice recording
- Volume adjustments
- Noise reduction
Clear audio improves professionalism.
CapCut Tutorial for Color Correction
Color grading can dramatically improve visuals.
Basic Color Adjustments
Improve footage using:
- Brightness
- Contrast
- Saturation
- Temperature
Balanced colors create a polished appearance.
Creating Consistent Color Styles
Maintain similar color settings across clips.
Consistency improves visual quality.
CapCut Tutorial for Social Media Videos
Short-form content dominates many platforms.
Editing Instagram Reels
Focus on:
- Fast pacing
- Engaging hooks
- Clear captions
Reels require immediate attention-grabbing visuals.
Editing TikTok Videos
Successful TikTok videos often include:
- Quick cuts
- Trending audio
- Dynamic text overlays
TikTok rewards engaging editing styles.
Editing YouTube Shorts
Prioritize:
- Strong opening moments
- Fast storytelling
- Clear messaging
Shorts benefit from concise editing.
CapCut Tutorial Examples for Content Creators
Practical examples help improve editing skills.
Travel Video Example
Workflow:
- Import footage.
- Trim unnecessary clips.
- Add transitions.
- Insert music.
- Apply color correction.
This process creates engaging travel content.
Product Review Example
Workflow:
- Introduce the product.
- Highlight features.
- Add text callouts.
- Include B-roll footage.
- End with a summary.
Clear structure improves communication.
Educational Video Example
Workflow:
- Introduce the topic.
- Add supporting visuals.
- Use captions.
- Include examples.
- Summarize key points.
Educational videos benefit from clarity.
AI Features in CapCut
Modern editing increasingly includes AI tools.
1. AI Auto Captions
Benefits include:
- Faster editing
- Improved accessibility
- Better viewer retention
Captions help audiences follow content.
2. AI Background Removal
Useful for:
- Product videos
- Talking-head content
- Marketing projects
Background removal saves editing time.
3. AI Enhancement Tools
AI can assist with:
- Image quality
- Audio cleanup
- Visual improvements
These features streamline editing workflows.
Also Read: Canva AI Tutorial: Step-by-Step for New Users
Best Tools to Use Alongside CapCut
Creators often combine multiple tools.
1. Canva
Best for:
- Thumbnails
- Social media graphics
- Video covers
Canva complements video content creation.
2. ChatGPT
Best for:
- Video scripts
- Content planning
- Caption ideas
- Content outlines
AI helps creators develop ideas faster.
3. Adobe Express
Best for:
- Marketing assets
- Social graphics
- Promotional content
Adobe Express supports branding consistency.
4. Google Drive
Best for:
- File storage
- Collaboration
- Project backups
Cloud storage improves workflow management.
Recommended CapCut Workflow
1. Plan Your Content
Define:
- Topic
- Audience
- Objectives
Planning improves efficiency.
2. Organize Footage
Sort clips into:
- Primary footage
- B-roll
- Audio assets
Organization saves editing time.
3. Build the Rough Cut
Focus on:
- Story flow
- Structure
- Timing
Do not worry about effects yet.
4. Add Visual Enhancements
Apply:
- Text
- Transitions
- Animations
- Color correction
Enhancements improve presentation.
5. Optimize Audio
Adjust:
- Music levels
- Voice clarity
- Sound effects
Balanced audio improves viewer experience.
6. Export and Publish
Choose settings appropriate for:
Export optimization improves playback quality.
Common Mistakes in CapCut Editing
1. Overusing Effects
Too many effects can distract viewers.
Use effects strategically.
2. Ignoring Audio Quality
Poor audio often causes viewers to leave.
Prioritize sound quality.
3. Inconsistent Branding
Maintain consistency in:
- Fonts
- Colors
- Editing style
Brand consistency improves recognition.
Future Trends in Mobile Video Editing
Emerging trends include:
- AI-assisted editing
- Automated captions
- Smart effects
- Real-time editing suggestions
- Cloud collaboration
These innovations continue improving creator workflows.
Benefits of Following a CapCut Tutorial
Creators who master a CapCut tutorial often achieve:
- Better video quality
- Faster editing workflows
- Stronger audience engagement
- Improved storytelling
- More professional content
Consistent practice leads to noticeable improvements.
Also Read: Procreate Tutorial Guide for Better Digital Art Results
Conclusion
A well-structured CapCut tutorial helps creators develop stronger editing skills and produce more engaging content. By mastering trimming, transitions, text animations, audio editing, color correction, and AI-powered features, creators can dramatically improve the quality of their videos.
Whether creating short-form content, educational videos, travel vlogs, or product reviews, CapCut provides powerful tools that make professional editing accessible. Following the techniques and workflows in this CapCut tutorial can help creators save time while producing better video editing results.

For high-quality fonts to boost your income, check out DM Letter Studio. Our professional fonts are perfect for branding, marketing, and content creation. So, don’t miss this opportunity.