
Packaging Design Process Guide for Better Results
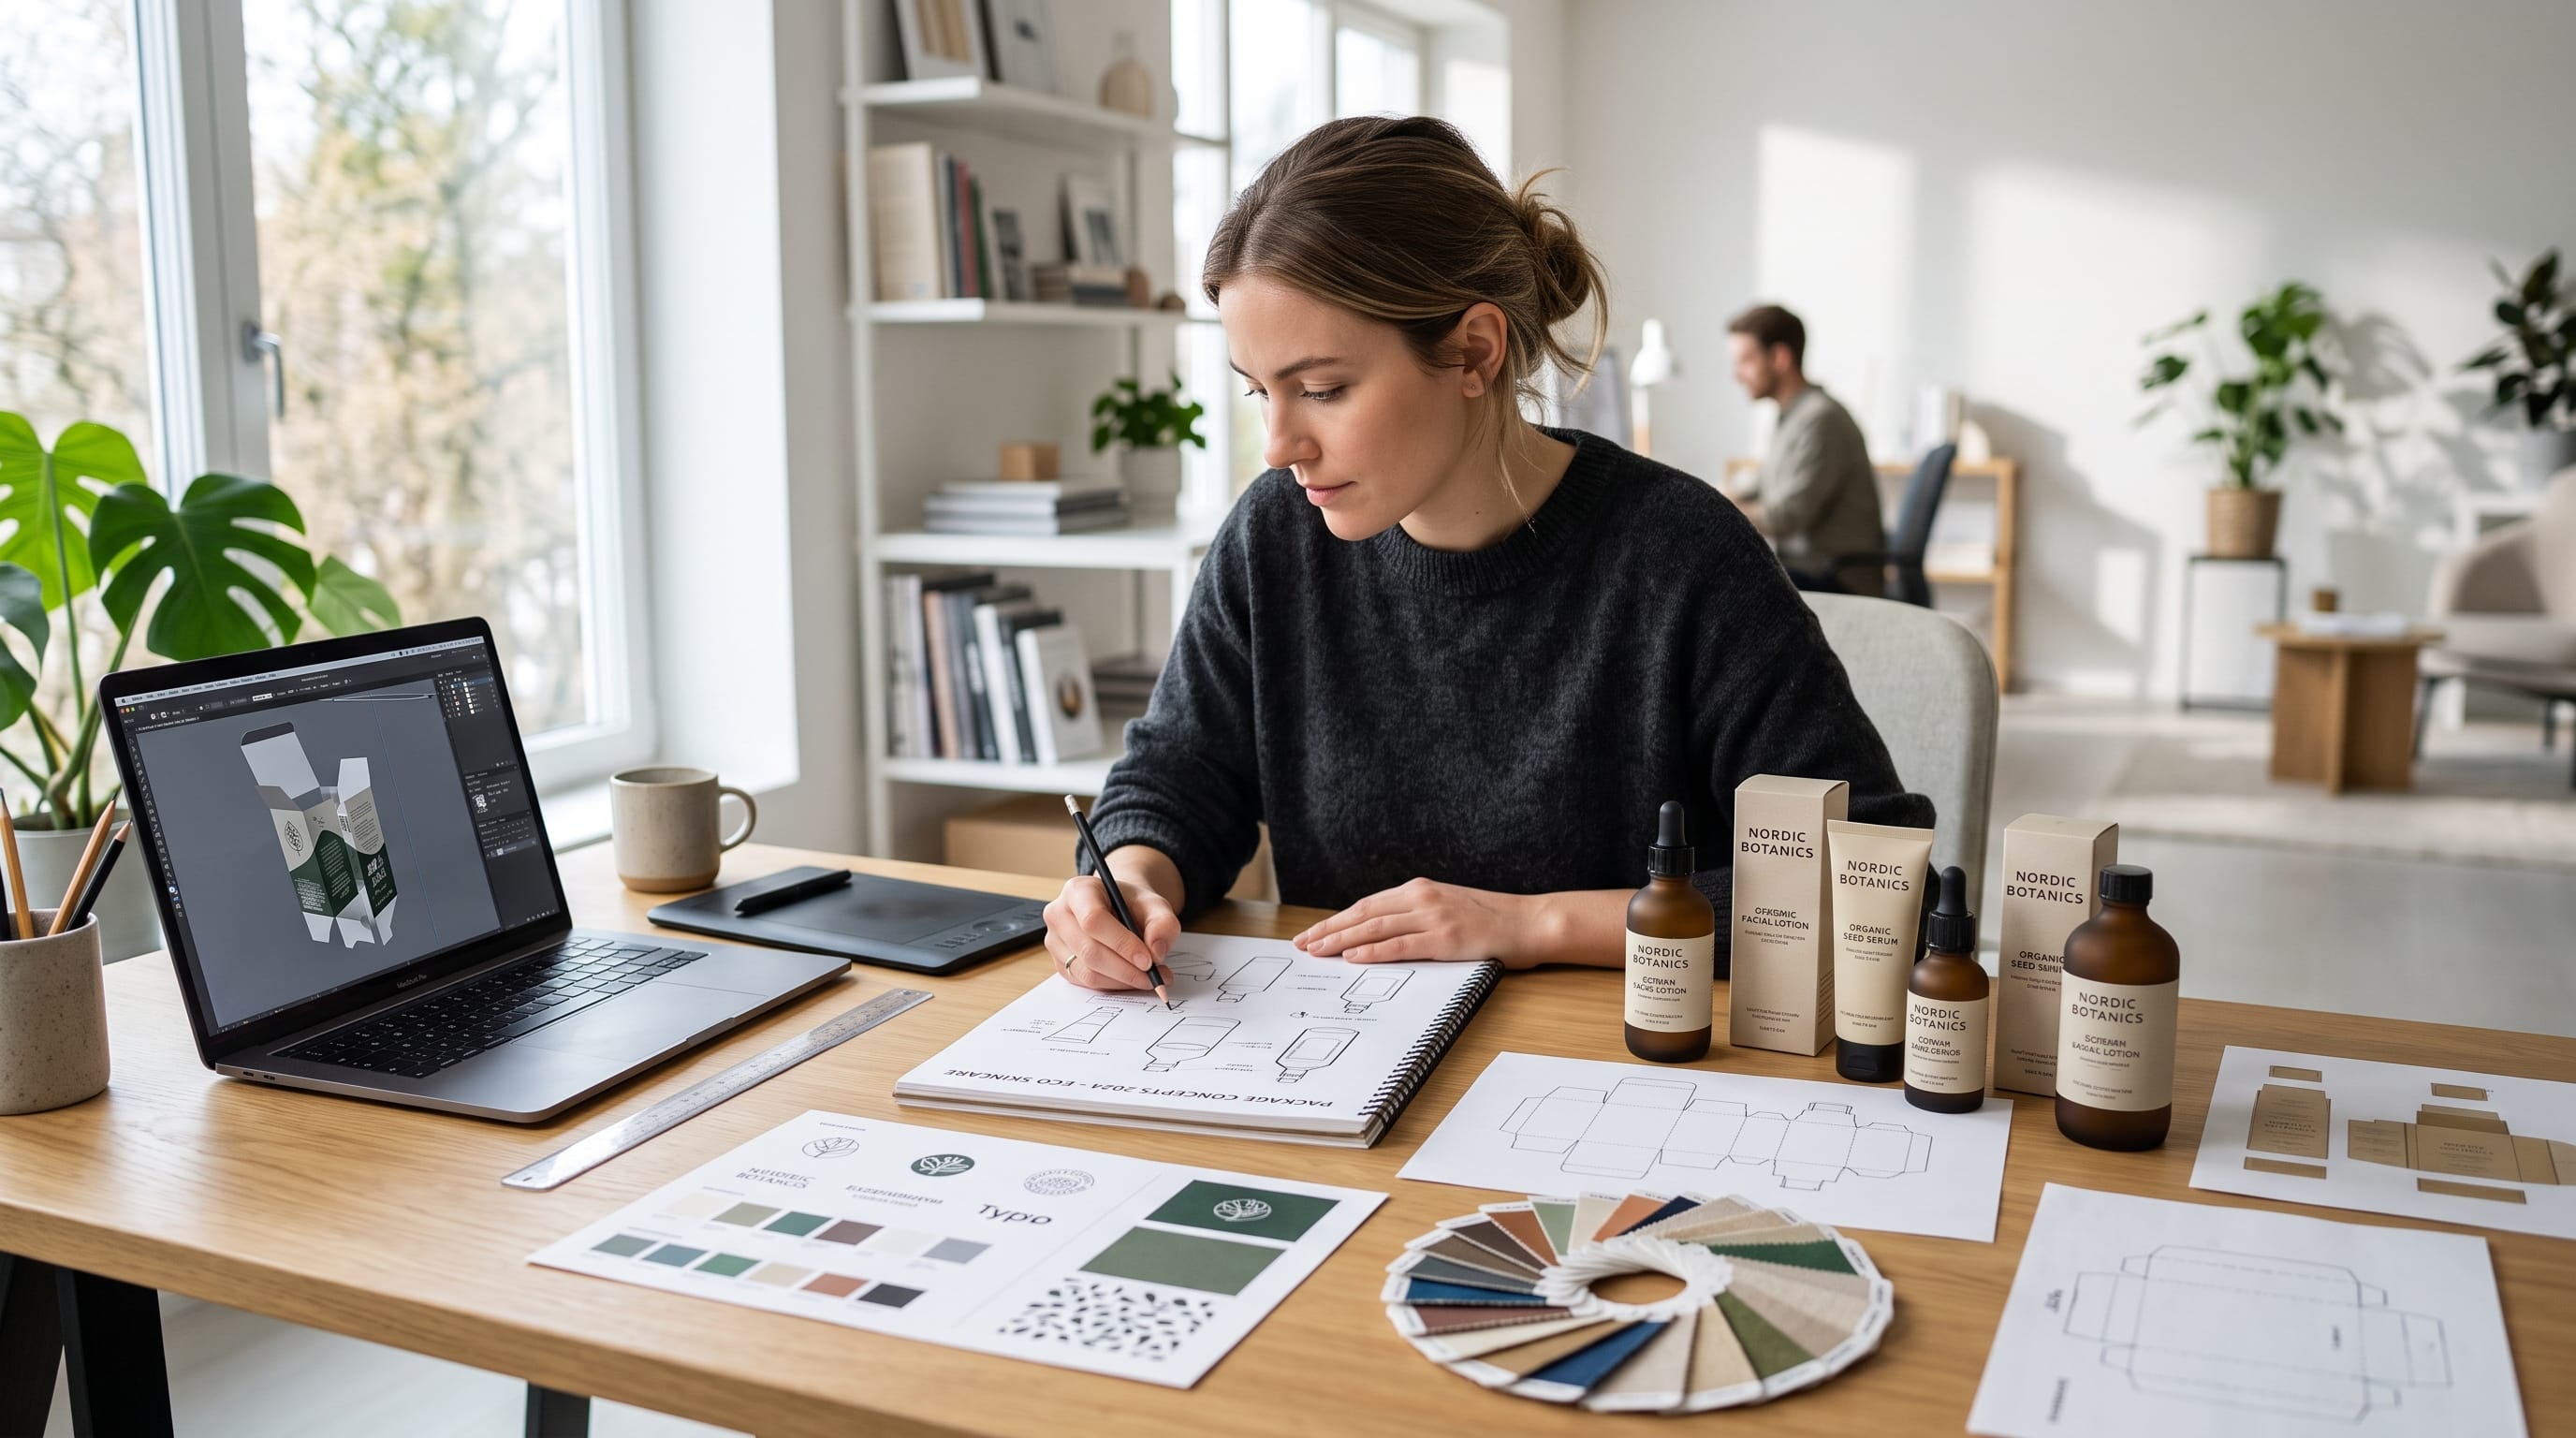
A well-organized packaging design process helps designers turn an initial product idea into packaging that is attractive, functional, practical, and ready for production. Packaging must do more than look appealing. It needs to protect the product, communicate essential information, reflect the brand identity, attract the intended audience, and meet technical manufacturing requirements.
Without a clear workflow, packaging projects can quickly become confusing. Designers may spend too much time revising concepts, use incorrect measurements, overlook printing limitations, or create artwork that cannot be manufactured efficiently. These problems often lead to missed deadlines, increased costs, and inconsistent branding.
An effective packaging design process creates structure around every stage of the project. It helps designers collaborate with clients, manufacturers, marketers, printers, and product teams while keeping important decisions documented. This guide explains each stage of a professional packaging workflow, from the initial brief to final production files.
Why the Packaging Design Process Matters
Packaging design involves several creative and technical decisions. A successful result depends on how well those decisions work together.
A structured packaging design process helps designers:
- Understand the product and target audience
- Maintain consistency with the brand identity
- Select appropriate packaging materials
- Create accurate structural layouts
- Reduce unnecessary revisions
- Identify production problems early
- Improve communication with clients and suppliers
- Prepare reliable print-ready files
- Deliver packaging that performs well in real conditions
A clear process also makes the project easier to manage. Every stakeholder understands what has been approved, what still needs revision, and what must happen before production begins.
Start the Packaging Design Process With a Clear Brief
Every packaging project should begin with a detailed creative brief.
The brief provides direction for the entire packaging design process. It should explain the purpose of the project, the product being packaged, the intended customer, and the final deliverables.
Understand the Product
Designers need to know exactly what the package will contain.
Important questions include:
- What is the product?
- What are its dimensions?
- How much does it weigh?
- Is it fragile?
- Does it require protection from light, air, heat, or moisture?
- Does it need to remain upright?
- Will it be sold individually or as part of a set?
- Does it have an expiration date?
These details influence the package structure, material, size, closure system, and protective requirements.
Define the Target Audience
The visual direction should reflect the customers most likely to buy the product.
Research should identify:
- Customer age
- Lifestyle
- Buying habits
- Priorities
- Price expectations
- Preferred retail channels
- Visual preferences
Packaging for luxury skincare will require a different approach from packaging for children’s snacks or affordable household products.
Clarify the Project Goals
The project should have measurable objectives.
Common goals include:
- Launching a new product
- Refreshing an outdated package
- Improving shelf visibility
- Reducing production costs
- Supporting a premium price
- Entering a new market
- Reducing packaging waste
- Improving ecommerce delivery
- Creating consistency across a product range
These goals help designers evaluate whether each concept solves the correct problem.
Conduct Research Before Creating Packaging Concepts
Research is an essential part of the packaging design process because it prevents designers from relying only on personal taste.
Analyze Competitor Packaging
Review competing products in both physical and digital stores.
Pay attention to:
- Common colors
- Typography styles
- Package shapes
- Material choices
- Product claims
- Image styles
- Information hierarchy
- Price positioning
The goal is not to copy competitors. It is to identify visual patterns and opportunities for differentiation.
For example, when every competing product uses bright colors, a restrained minimalist package may stand out. When competitors use plain packaging, a bold illustration system may attract more attention.
Review the Retail Environment
Designers should understand where the package will appear.
Consider whether the product will be sold through:
- Supermarkets
- Boutique stores
- Online marketplaces
- Brand websites
- Subscription boxes
- Trade shows
- Wholesale distributors
A retail package must attract attention from a distance. Ecommerce packaging may focus more on protection, efficient shipping, and the unboxing experience.
Research Packaging Regulations
Some products require specific information by law or industry standards.
Depending on the product category, packaging may need:
- Ingredient lists
- Nutritional information
- Allergen warnings
- Safety instructions
- Barcodes
- Batch numbers
- Expiration dates
- Country-of-origin details
- Recycling symbols
- Certification marks
Designers should reserve space for mandatory content before developing the final visual layout.
Define the Packaging Structure and Materials
The structure should be planned early in the packaging design process, not after the visual concept has been completed.
Choose the Packaging Format
Common packaging formats include:
- Folding cartons
- Corrugated boxes
- Flexible pouches
- Bottles
- Jars
- Tubes
- Cans
- Sleeves
- Labels
- Mailer boxes
- Paper bags
The format should suit the product, customer experience, budget, retail environment, and manufacturing capabilities.
Select Appropriate Materials
Packaging materials influence protection, appearance, printing quality, sustainability, and cost.
Possible materials include:
- Paperboard
- Corrugated cardboard
- Glass
- Aluminum
- Flexible plastic
- Recycled paper
- Molded pulp
- Biodegradable films
- Reusable containers
Designers should discuss material options with packaging suppliers instead of making assumptions based only on digital mockups.
Work With an Accurate Dieline
A dieline is the technical template that shows where packaging will be cut, folded, glued, perforated, or assembled.
A professional dieline usually contains:
- Cut lines
- Fold lines
- Bleed areas
- Glue areas
- Safe zones
- Perforations
- Panel measurements
Designers should obtain the final dieline from the printer or manufacturer whenever possible. Building artwork on an unapproved template can cause costly production errors.
Develop Concepts in the Packaging Design Process
Once the research and structural requirements are clear, designers can begin exploring visual concepts.
Create Mood Boards
Mood boards help establish the intended design direction.
They may include:
- Color palettes
- Typography
- Photography
- Illustration
- Materials
- Textures
- Competitor references
- Cultural influences
- Packaging structures
A mood board allows the client and designer to agree on the overall direction before detailed design begins.
Sketch Multiple Packaging Ideas
Designers should explore several ideas before selecting one direction.
Early sketches may test:
- Logo placement
- Product name hierarchy
- Image position
- Label structure
- Window placement
- Opening experience
- Decorative patterns
- Information panels
Sketches do not need to be polished. Their purpose is to generate and compare ideas quickly.
Select the Strongest Concepts
A good presentation usually includes a limited number of well-developed directions rather than many unfinished ideas.
Each concept should explain:
- The visual idea
- The intended customer response
- How it supports the brand
- Why the structure works
- How it differs from competitors
The selected direction should be based on project goals, not only personal preference.
Also Read: The Best Packaging Design Inspiration for Creative Brands
Build a Strong Packaging Information Hierarchy
Packaging contains several types of information, but not everything should receive equal visual attention.
A clear hierarchy guides the customer through the design.
The most important elements usually include:
- Brand name
- Product name
- Product category
- Main benefit or feature
- Variant, flavor, size, or quantity
- Supporting details
- Legal or technical information
The front panel should communicate the product clearly within a few seconds.
Use Typography Carefully
Typography affects readability, shelf impact, and brand personality.
Designers should consider:
- Font size
- Weight
- Contrast
- Letter spacing
- Line length
- Alignment
- Printing limitations
Decorative fonts can be used for the brand or product name, but important instructions and product details should remain easy to read.
Maintain Consistent Branding
The package should reflect the established visual identity.
Use consistent:
- Logo placement
- Brand colors
- Typography
- Illustration style
- Photography
- Iconography
- Tone of voice
Consistency is especially important when designing a family of products with several variants.
Create Packaging Mockups and Prototypes
Flat artwork cannot fully communicate how a package will look and function.
Mockups and prototypes help designers identify problems before production.
Use Digital Packaging Mockups
Digital mockups are helpful for:
- Client presentations
- Ecommerce previews
- Marketing campaigns
- Design comparisons
- Early visualization
Popular tools include Adobe Photoshop, Adobe Dimension, Blender, and specialized packaging software.
However, digital mockups can hide practical problems. They should not replace physical testing.
Build Physical Prototypes
A physical prototype helps evaluate:
- Package dimensions
- Panel alignment
- Opening and closing
- Product fit
- Text readability
- Structural strength
- Customer handling
- Shelf appearance
Even a basic paper prototype can reveal important issues that are invisible on a screen.
Test the Packaging Design Process Before Production
Testing helps ensure that the package performs as expected.
Test Product Protection
The package should protect the product during:
- Storage
- Transportation
- Retail handling
- Customer use
- Shipping and delivery
Depending on the product, testing may include drop tests, compression tests, moisture testing, temperature exposure, or vibration testing.
Test Usability
Customers should be able to understand and use the package easily.
Review whether they can:
- Open it without confusion
- Remove the product safely
- Close or reseal it when necessary
- Read instructions
- Identify disposal methods
- Store the product correctly
A beautiful package that is frustrating to use creates a poor brand experience.
Review Shelf and Screen Visibility
Packaging should be tested in the environment where customers will see it.
For retail products, place prototypes beside competitors and evaluate:
- Visibility from a distance
- Product name clarity
- Color differentiation
- Brand recognition
- Side-panel appearance
For ecommerce products, review how the package appears in thumbnails, product photography, and mobile screens.
Collect Feedback and Manage Revisions
Feedback is a normal part of the packaging design process, but it should be managed carefully.
Request Specific Feedback
Instead of asking whether someone likes the design, ask questions such as:
- Is the product category clear?
- Can the product name be read quickly?
- Does the design match the target audience?
- Is the primary benefit visible?
- Does the package feel appropriate for the price?
- Are the instructions understandable?
Specific questions produce more useful answers.
Keep Revision Rounds Organized
Document all requested changes and group them into clear revision rounds.
Avoid receiving separate feedback from several stakeholders without consolidation. Conflicting instructions can slow down the project and create unnecessary changes.
The project should also define:
- Number of revision rounds
- Approval responsibilities
- Deadlines
- Additional revision costs
- Final sign-off requirements
Also Read: Gift Box Packaging Design for Better Customer Experience
Prepare Print-Ready Packaging Files
The production stage is one of the most technical parts of the packaging design process.
Before submitting files, designers should confirm:
- Correct dieline
- Correct dimensions
- Proper bleed
- Safe text margins
- CMYK color mode
- Correct spot colors
- High-resolution images
- Embedded or outlined fonts
- Accurate barcodes
- Visible overprint settings
- Separate layers for technical lines
- Approved finishing instructions
Technical dielines should not be printed as part of the artwork unless the printer specifically requests them.
Review Special Finishes
Packaging may include finishes such as:
- Foil stamping
- Embossing
- Debossing
- Spot UV
- Die cutting
- Varnish
- Lamination
- Metallic ink
Each finish may require a separate artwork layer or spot color. Designers should follow the printer’s production specifications exactly.
Request a Production Proof
A proof allows the designer and client to review colors, text, alignment, and technical details before the full print run.
Check:
- Spelling
- Product information
- Color accuracy
- Barcode readability
- Image quality
- Fold alignment
- Finish placement
- Legal content
Final approval should be documented before manufacturing begins.
Best Tools for the Packaging Design Process
1. Adobe Illustrator
Adobe Illustrator is one of the most important tools for packaging artwork.
It is useful for:
- Dieline-based layouts
- Vector illustrations
- Typography
- Print preparation
- Spot colors
- Technical layers
2. Adobe Photoshop
Photoshop works well for:
- Editing product photography
- Creating realistic mockups
- Applying textures
- Preparing presentation visuals
The final dieline artwork should normally be created in vector-based software.
3. Adobe Dimension
Adobe Dimension helps designers create realistic 3D packaging presentations without advanced 3D modeling knowledge.
It is suitable for:
- Boxes
- Bottles
- Cans
- Jars
- Product scenes
4. Blender
Blender is useful for advanced packaging visualization.
Designers can create:
- Custom package shapes
- Realistic materials
- Product animations
- Marketing renders
- Ecommerce visuals
5. Esko Studio
Esko Studio is designed specifically for packaging professionals.
It supports:
- 3D packaging previews
- Artwork checking
- Structural visualization
- Labels
- Flexible packaging
- Production workflows
6. Figma
Figma can support the planning and collaboration stages of the workflow.
It is useful for:
- Mood boards
- Concept presentations
- Brand systems
- Team feedback
- Design documentation
Common Packaging Design Process Mistakes
1. Starting Without Accurate Measurements
Designing before the product dimensions and dieline are confirmed can lead to major revisions.
2. Focusing Only on Appearance
Packaging must also protect the product, communicate information, and work within production limitations.
3. Ignoring the Side and Back Panels
Customers may view every side of the package. All panels should feel consistent and intentional.
4. Using Unrealistic Digital Mockups
Mockups should accurately represent the final materials, printing methods, and finishes.
5. Skipping Physical Testing
Physical prototypes are essential for identifying structural and usability problems.
6. Sending Files Without Preflight Checks
Incorrect colors, missing fonts, low-resolution images, or misplaced technical lines can delay production.
Final Packaging Design Process Checklist
Before completing the project, confirm that:
- The product fits securely
- The target audience is clearly understood
- The branding is consistent
- The information hierarchy is clear
- Mandatory content is included
- The dieline is approved
- The artwork includes correct bleed
- Images are high resolution
- Fonts are prepared correctly
- Colors follow production specifications
- Barcodes have been tested
- Physical prototypes have been reviewed
- The client has approved the final proof
- All final files are organized and delivered
Also Read: The Best Packaging Design Color Ideas for Creative Designers
Conclusion on Packaging Design Process
An effective packaging design process combines research, strategy, creativity, technical accuracy, testing, and collaboration. Each stage helps designers reduce mistakes while creating packaging that protects the product, communicates its value, and strengthens the brand.
The strongest packaging projects do not begin with decoration. They begin with a clear understanding of the product, customer, market, materials, production methods, and business goals. Designers can then develop visual concepts that solve real problems instead of simply creating attractive surfaces.
By following a structured packaging design process, designers can manage projects more efficiently, communicate more clearly with clients and manufacturers, and deliver packaging that performs successfully in stores, online, and throughout the product’s lifecycle.
For high-quality fonts to boost your income, check out DM Letter Studio. Our professional fonts are perfect for branding, marketing, and content creation. So, don’t miss this opportunity.