
Photoshop Retouching Tips for Better Portraits
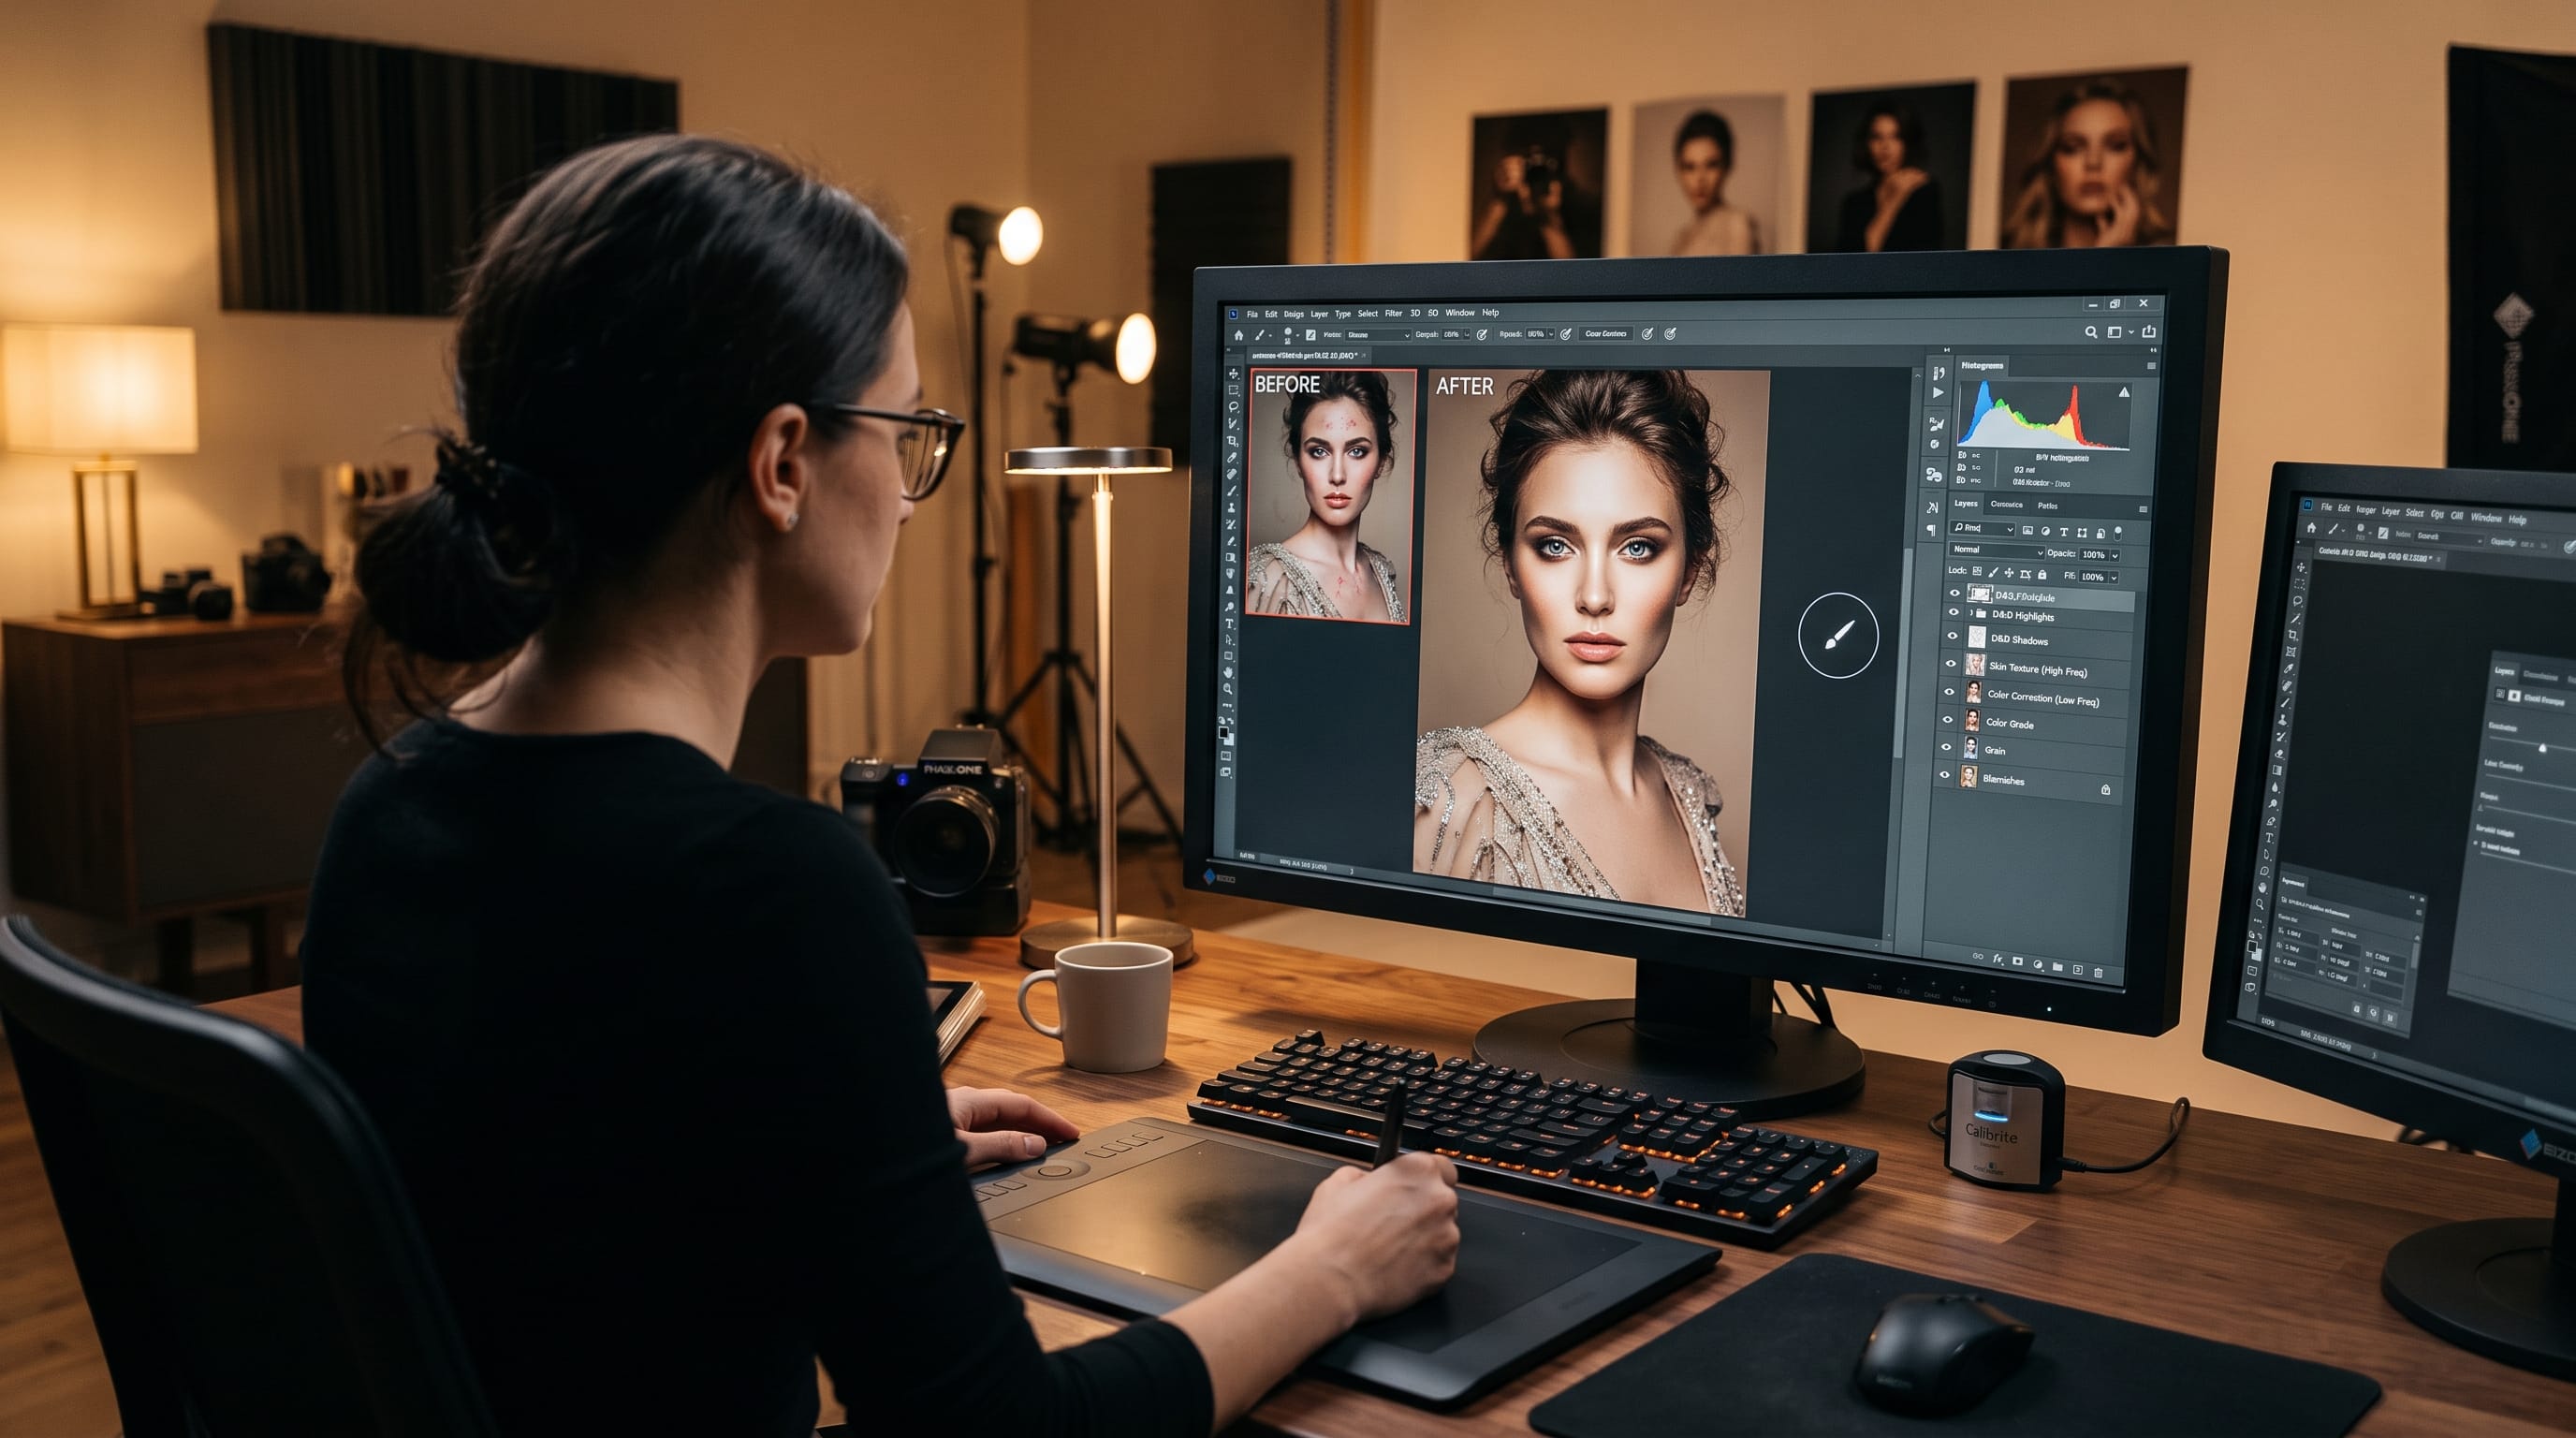
Photoshop retouching tips can help photographers improve portraits without making people look artificial or overly edited. Good retouching should reduce distractions, balance color, refine important details, and preserve the natural character of the person in the photograph.
Portrait retouching is not about removing every line, pore, shadow, or unique feature. The goal is to create a polished image that still feels believable. When editing becomes too aggressive, skin can look plastic, facial features may lose dimension, and the final photograph can feel disconnected from the original person.
A strong retouching workflow begins with careful decisions. Before making changes, ask what the portrait needs. It may require better exposure, cleaner skin tones, reduced background distractions, brighter eyes, or stronger contrast. Each adjustment should support the subject and the purpose of the image.
The following Photoshop retouching tips cover a practical workflow for photographers who want cleaner, more professional portraits while keeping the results natural.
Start Photoshop Retouching Tips With a Clear Goal
Before opening every tool and filter, decide how the final portrait should feel. A corporate headshot, beauty photograph, family portrait, fashion image, and editorial photograph may require very different levels of retouching.
A professional headshot may need:
- Natural skin cleanup
- Balanced color
- Reduced clothing distractions
- Clear eyes
- A clean background
A beauty portrait may require more detailed work involving:
- Skin texture
- Makeup refinement
- Hair cleanup
- Dodge and burn
- Precise color grading
A family portrait usually benefits from lighter editing that preserves warmth and personality.
The best Photoshop retouching tips begin with restraint. Zoom out regularly and judge the whole image rather than focusing only on small imperfections.
1. Work With a Non-Destructive Retouching Workflow
Non-destructive editing allows you to revise or remove adjustments without permanently changing the original image.
Start by duplicating the background layer or converting it into a Smart Object. Use separate layers for skin cleanup, dodge and burn, color correction, sharpening, and final effects.
A useful layer structure might include:
- Original image
- Basic cleanup
- Skin corrections
- Dodge and burn
- Color adjustments
- Eye and hair details
- Sharpening
- Final review
Name each layer clearly. Organized layers make it easier to compare changes, reduce opacity, or return to an earlier stage.
Use layer masks whenever possible. A mask lets you control where an adjustment appears without deleting pixels.
2. Correct Exposure Before Detailed Retouching
Skin cleanup should not be the first step if the entire portrait is too dark, flat, bright, or uneven.
Begin by reviewing:
- Overall exposure
- Highlight detail
- Shadow detail
- White balance
- Contrast
- Skin tone
Use adjustment layers such as Curves or Levels to create a balanced starting point. Avoid making the image too contrasty at this stage because stronger adjustments may hide details you need during retouching.
If one side of the face is too dark, create a Curves adjustment layer, brighten the image, invert the mask, and paint the adjustment only where it is needed.
Correcting the overall tone first makes the later Photoshop retouching tips easier to apply consistently.
3. Remove Temporary Skin Blemishes
Temporary blemishes such as pimples, small scratches, loose makeup, and isolated spots can usually be removed. Permanent features such as freckles, scars, birthmarks, and facial lines should normally be preserved unless the client specifically requests otherwise.
Useful tools include:
- Spot Healing Brush
- Healing Brush
- Clone Stamp
- Patch Tool
Create a new empty layer above the image and set the retouching tool to sample the appropriate layers. This keeps the cleanup separate from the original photograph.
Use a brush slightly larger than the blemish. Short, controlled corrections usually look more natural than painting over large skin areas.
Avoid Removing Natural Skin Texture
One of the most important Photoshop retouching tips is to protect skin texture. Pores, fine lines, and subtle variations make skin look real.
Do not repeatedly brush across large areas with the Spot Healing Brush. The tool may create blurred patches or repeat unwanted texture.
Zoom in enough to make accurate corrections, but return to a normal viewing size frequently. A tiny mark that seems distracting at 300 percent zoom may be invisible in the final image.
4. Use the Healing Brush for Controlled Corrections
The Healing Brush gives you more control than automatic healing because you select the source area.
Choose a clean section of nearby skin with similar texture and lighting. Sample from an area close to the problem rather than from the opposite side of the face.
Match the source area carefully. Skin texture changes across the face. The forehead, cheek, nose, and chin have different pore patterns and lighting.
Use the Healing Brush for:
- Small blemishes
- Fine lines in makeup
- Uneven texture
- Minor skin distractions
- Small marks on clothing
Avoid sampling repeatedly from the same location because this can create visible repetition.
5. Use the Clone Stamp for Edges and Details
The Clone Stamp copies pixels directly, making it useful near edges where healing tools may blend incorrectly.
It works well for:
- Hair crossing the face
- Clothing edges
- Eyebrow cleanup
- Background distractions
- Jewelry corrections
- Areas with strong lines
Lower the opacity and build the correction gradually. A hard-edged brush may help near defined shapes, while a softer brush works better for gradual transitions.
The Clone Stamp is powerful, but careless use can produce repeated patterns. Change the source point often and follow the natural direction of the detail you are repairing.
6. Refine Skin With Dodge and Burn
Dodge and burn is one of the most valuable Photoshop retouching tips for professional portrait work. It involves selectively brightening and darkening areas to smooth uneven transitions while preserving texture.
Unlike heavy blurring, dodge and burn changes luminosity rather than removing skin detail.
You can create two Curves adjustment layers:
- One curve that brightens the image
- One curve that darkens the image
Invert both masks so the effects are hidden. Then use a soft white brush at low opacity or flow to paint on the masks.
Brighten small dark patches and darken small bright patches. Work gradually.
Use Local Dodge and Burn Carefully
Local dodge and burn corrects small variations in skin tone. It may be used around:
- Under-eye areas
- Cheeks
- Forehead
- Chin
- Nose
- Neck
Do not remove all natural shadows. Shadows create facial structure. The purpose is to soften distracting transitions, not flatten the face.
Use Global Dodge and Burn for Shape
Global dodge and burn can strengthen the overall shape of the portrait.
You might brighten:
- The center of the forehead
- The bridge of the nose
- The tops of the cheeks
- Selected hair highlights
- The upper lip edge
You might darken:
- The jawline
- The sides of the nose
- Areas beneath the cheekbones
- The edges of the face
- Background areas near the subject
Keep the effect subtle and compare the result with the original layer.
Also Read: Photoshop Tutorial Photo Editing for Better Contrast
7. Retouch Under-Eye Areas Naturally
Dark circles can make a subject look tired, but removing them completely often looks unnatural.
Create a new layer and use the Healing Brush or Clone Stamp at reduced opacity. Sample nearby skin and soften only the strongest darkness or texture.
Another method is to use a Curves adjustment layer to brighten the shadow slightly. Mask the adjustment carefully and avoid brightening the entire lower eyelid.
Preserve some natural depth beneath the eyes. The shape of the eye socket should remain visible.
The strongest Photoshop retouching tips improve the subject without changing their identity.
8. Improve Eyes Without Making Them Unrealistic
Eyes often attract the viewer first, so small adjustments can strengthen a portrait.
Possible improvements include:
- Reducing redness
- Brightening the iris slightly
- Enhancing catchlights
- Sharpening eyelashes
- Darkening the upper lash line
- Reducing distracting veins
Use separate layers or adjustment layers for each change.
Avoid making the whites of the eyes completely white. Natural eyes contain shadows, color, and small veins. Excessive whitening creates an artificial appearance.
Brighten the iris carefully and keep the pupil dark. If catchlights already exist, enhance them slightly rather than painting large new reflections.
9. Refine Teeth With Subtle Adjustments
Teeth may need small corrections in portraits with visible smiles. The goal is to reduce strong yellow tones, not create pure white teeth.
Use a Hue/Saturation adjustment layer and target yellow colors. Reduce saturation slightly and brighten only when necessary.
Invert the mask and paint the effect over the teeth with a soft brush.
Be careful not to affect the lips or gums. Keep natural tonal differences between the teeth so they retain dimension.
10. Improve Hair and Remove Flyaways
Hair retouching can take time because individual strands overlap the face, clothing, and background.
Remove only the flyaways that distract from the shape of the hairstyle. Keeping some loose strands helps the portrait remain natural.
Use the Clone Stamp or Healing Brush on a separate layer. Follow the direction of the surrounding hair when sampling.
For larger background flyaways, clone nearby background texture over the strand. For hair crossing the face, sample nearby skin carefully while preserving the natural texture.
You can also brighten selected highlights or darken gaps using dodge and burn.
11. Correct Uneven Skin Color
Skin may contain unwanted redness, yellow patches, makeup differences, or color casts from the environment.
Use adjustment layers such as:
- Hue/Saturation
- Selective Color
- Color Balance
- Curves
Create a mask so the correction affects only the required area.
For example, if the nose and cheeks are too red, reduce red saturation slightly rather than changing the entire portrait.
Do not make every part of the skin exactly the same color. Natural skin includes warm, cool, red, and yellow variations. The goal is balance, not complete uniformity.
12. Use Frequency Separation Carefully
Frequency separation separates color and tone from fine texture. It can be useful for advanced portrait retouching, but it is also easy to misuse.
The low-frequency layer contains broad color and tonal information. The high-frequency layer contains texture and fine detail.
Photographers may use frequency separation to correct:
- Uneven color
- Makeup transitions
- Small texture issues
- Wrinkles in clothing
- Subtle skin variations
However, excessive smoothing on the low-frequency layer can produce plastic-looking skin. Heavy editing on the texture layer can create repeated or artificial pores.
Frequency separation should support the portrait, not replace careful healing and dodge and burn.
13. Retouch Lips and Makeup
Lips may need cleanup around the edges, reduction of dry skin, or small color adjustments.
Use the Healing Brush for minor texture issues. Refine lipstick edges with the Clone Stamp or a mask. Adjust color through Hue/Saturation or Selective Color.
Preserve natural texture. Completely smooth lips can appear painted or artificial.
For makeup:
- Correct uneven eyeliner
- Remove small mascara marks
- Refine eyeshadow edges
- Balance blush
- Reduce excessive shine
- Preserve intentional makeup texture
Do not redesign the makeup unless the project requires beauty retouching and the client approves the change.
Also Read: Photoshop Tutorial for Professional Social Posts
14. Clean Clothing and Accessories
Portrait retouching includes more than the face. Wrinkles, lint, loose threads, dust, and uneven fabric can distract from the subject.
Use the Healing Brush and Clone Stamp to remove:
- Lint
- Small stains
- Loose fibers
- Minor wrinkles
- Distracting folds
- Reflections on accessories
Do not remove every fold because fabric needs natural shape and volume.
Jewelry may benefit from small brightness and contrast adjustments. Clean distracting marks while preserving realistic reflections.
15. Simplify the Background
A busy background can compete with the subject. Small background corrections can improve the portrait without requiring complete replacement.
Remove distracting objects such as:
- Bright signs
- Small wall marks
- Unwanted cables
- Dust
- People at the edge
- Strong color spots
Use the Clone Stamp, Healing Brush, Content-Aware tools, or careful selections depending on the area.
You may also darken, blur, or desaturate parts of the background to guide attention toward the subject.
Avoid creating obvious repeated textures. Background corrections should remain invisible.
16. Use Color Grading to Create Mood
Color grading gives the portrait a consistent atmosphere. It should be added after the main retouching is complete.
Useful tools include:
- Color Balance
- Curves
- Selective Color
- Gradient Map
- Photo Filter
- Camera Raw Filter
You might add warmth to highlights and cooler tones to shadows, or create a soft neutral look for editorial portraits.
Keep skin tones believable. A strong creative grade may work in fashion photography, but corporate and family portraits often need more natural color.
Use masks to reduce the grading effect on skin when necessary.
17. Sharpen Important Portrait Details
Sharpening should emphasize important features without making skin texture harsh.
Focus sharpening on:
- Eyes
- Eyelashes
- Eyebrows
- Hair
- Lips
- Jewelry
- Clothing texture
Create a merged copy of the visible layers or use a Smart Object. Apply a sharpening method, then use a mask to limit the effect.
Avoid sharpening smooth skin areas. Excessive sharpening can make pores, blemishes, and noise more visible.
Judge sharpness at the intended output size because an image for social media requires different treatment from a large print.
18. Review the Portrait at Different Zoom Levels
One of the most useful Photoshop retouching tips is to change the viewing size regularly.
At high zoom, check:
- Blemish cleanup
- Mask edges
- Hair detail
- Texture
- Small color problems
At normal size, check:
- Facial balance
- Natural appearance
- Overall color
- Background distractions
- Visual impact
At thumbnail size, check whether the eyes and face remain the main focus.
A portrait may look perfect when zoomed in but overedited when viewed normally. Always make final decisions based on the whole photograph.
Common Photoshop Retouching Mistakes
1. Over-Smoothing the Skin
Heavy blur removes pores and creates an unrealistic plastic texture. Preserve detail and correct only distracting areas.
2. Changing Facial Features Too Much
Reshaping the face, eyes, nose, or body can change the subject’s identity. Make structural changes only when required and approved.
3. Whitening Eyes and Teeth Excessively
Pure white eyes and teeth appear unnatural. Reduce discoloration gradually while keeping shadows and texture.
4. Removing Every Wrinkle
Expression lines are part of the face. Soften temporary or distracting lines rather than erasing all signs of age.
5. Editing Only at High Zoom
Extreme zoom encourages unnecessary corrections. Return to normal viewing size frequently.
6. Using One Layer for Everything
Separate adjustments make the retouching easier to control. Use different layers for cleanup, color, dodge and burn, and sharpening.
7. Ignoring the Background
A polished face can still be weakened by a distracting object, bright spot, or messy background.
A Simple Photoshop Portrait Retouching Workflow
A reliable workflow can help photographers avoid unnecessary edits.
- Review the original image.
- Correct exposure and white balance.
- Remove temporary blemishes.
- Clean hair, clothing, and background distractions.
- Apply local dodge and burn.
- Balance skin color.
- Refine the eyes, lips, and teeth.
- Add global shaping when needed.
- Apply color grading.
- Sharpen selected details.
- Review at several zoom levels.
- Export the final portrait.
Save the layered PSD file before exporting. This allows you to revise the image later without repeating the full edit.
Also Read: How to Use Photoshop Color Grading for Stunning Photos
Final Thoughts on Photoshop Retouching Tips
The best Photoshop retouching tips focus on improvement rather than transformation. Professional portrait editing should reduce distractions, strengthen important details, and preserve the subject’s natural appearance.
Begin with exposure and color, then remove temporary blemishes and refine uneven areas carefully. Use dodge and burn to improve tonal transitions without destroying texture. Keep eye, teeth, hair, and makeup adjustments subtle.
A successful portrait should not immediately look retouched. It should simply feel balanced, polished, and visually focused.
As you practice these Photoshop retouching tips, work slowly and compare your progress with the original image. Good judgment is more important than using every advanced technique. The strongest result is a portrait that looks professional while still feeling honest, natural, and recognizable.

For high-quality fonts to boost your income, check out DM Letter Studio. Our professional fonts are perfect for branding, marketing, and content creation. So, don’t miss this opportunity.